
 EN



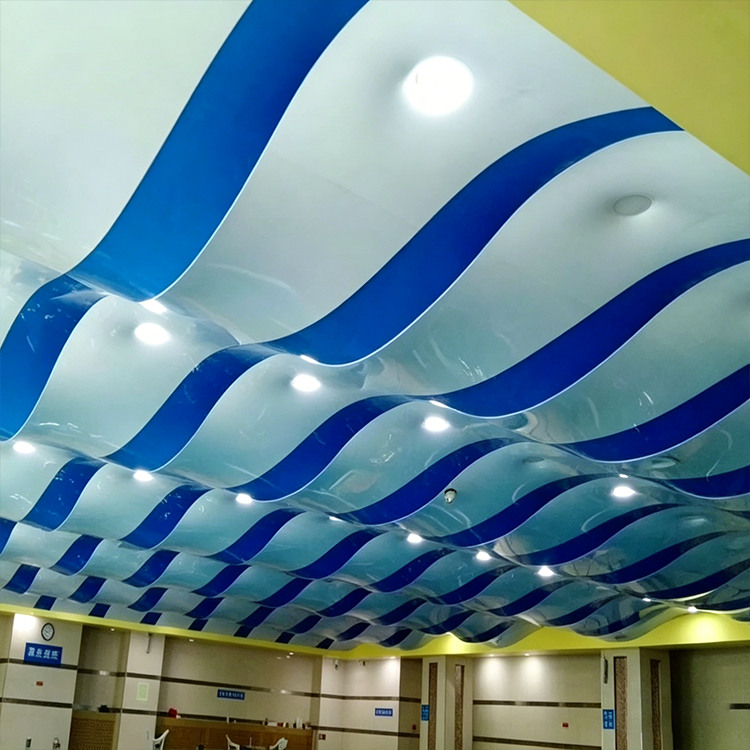
Installing a stretch ceiling is a sequence of careful measurements, secure track fitting, and controlled membrane installation. This hands-on guide explains how to prepare the room, set the perimeter profile, and fit the material so the finished surface is even and properly supported. Each stage matters because small errors made early can complicate the later work.
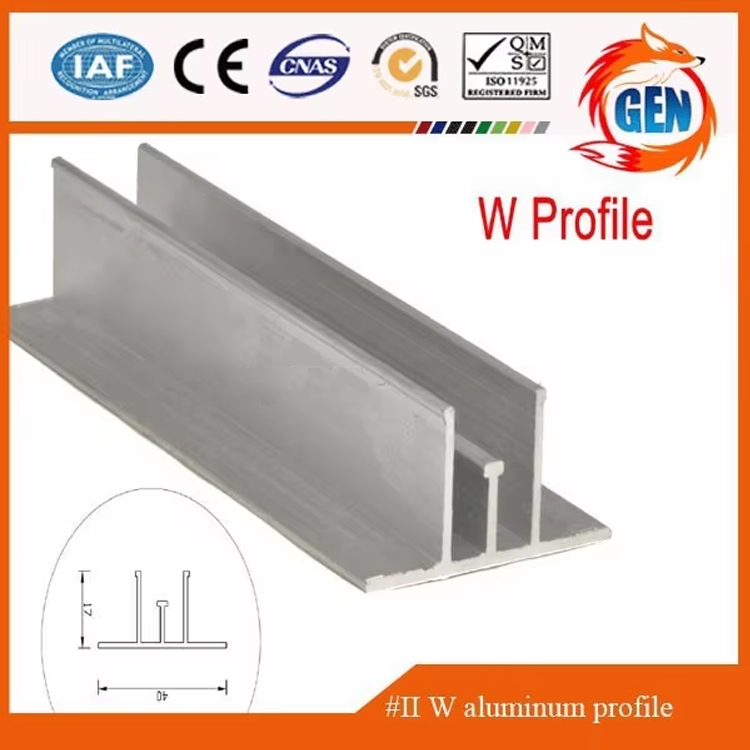
A stretch ceiling installation can suit residential, commercial, and other interior projects, but the method depends on the room, substrate, membrane, and fitting system. Before starting, confirm the product instructions and gather the appropriate tools. The steps below provide a practical workflow for a typical installation, while leaving room for project-specific requirements and professional judgment.
Prepare the room and plan the installation
Inspect the space before measuring
Begin by clearing the working area and checking the existing ceiling, walls, and corners. A stretch ceiling needs a stable perimeter for its track, so locate loose plaster, damp patches, or weak surfaces before proceeding. Repair concerns first rather than expecting the stretch ceiling profile to compensate for an unsuitable fixing base.
Identify pipes, wiring, lights, ventilation, and other services that could affect the membrane or track. Mark their positions and decide how each fitting will be supported independently where required. A stretch ceiling can conceal services, but concealed access and heat-producing equipment still need careful planning under the product guidance.
Check the room temperature and installation conditions against the membrane instructions. Move furniture or cover items that cannot be removed, and protect finished surfaces from tools and dust. This preparation helps keep the stretch ceiling material clean and gives installers clear access around the full perimeter.
Measure accurately and map the layout
Measure each wall and record the room shape rather than assuming opposite sides are identical. Note corners, alcoves, changes in wall angle, and the intended finished ceiling height. Accurate measurements are essential when planning a stretch ceiling because the membrane and track must suit the actual room, not an idealized rectangle.
Plan the position of seams, lighting openings, and any access points before ordering or cutting components. Check that planned fittings align with their supports and that the selected ceiling level leaves adequate room for services. A stretch ceiling layout should be reviewed against the membrane supplier's specifications before installation begins.
Confirm the fitting system is compatible with the selected membrane and the substrate. Review its profile, fasteners, and installation directions as a complete set. A suitable stretch ceiling system helps establish a consistent edge, while mixing unverified components can make engagement and tensioning less predictable.
Fit the perimeter track and prepare services
Set and secure the perimeter profile
Transfer the planned ceiling level to the walls with a level or laser, then mark a continuous reference line. Follow the specified clearance from the original ceiling and account for the deepest fitting. For a stretch ceiling, consistent marking reduces visible variation and makes it easier to align the track around corners.
Cut the track to suit the measured walls and prepare corner joints carefully. Position it along the reference line, check that it sits flush, and use fasteners appropriate to the wall material. The stretch ceiling depends on this perimeter support, so do not bridge gaps or rely on a loose fixing to carry membrane tension.
Continue around the room, checking level and joint alignment as you work. Keep fasteners at the spacing specified for the profile and substrate, tightening them without deforming the track. Before moving on, inspect the entire stretch ceiling perimeter for movement, sharp edges, and uneven sections that could damage the membrane.
Coordinate lighting and other services
Install or confirm independent supports for lights, detectors, and other ceiling-mounted equipment. These supports should be positioned at the intended finished height and remain stable when the stretch ceiling is tensioned. The membrane itself should not carry equipment loads unless the system documentation explicitly allows a particular arrangement.
Route cables and complete relevant building work before the membrane closes the ceiling void. Keep electrical connections accessible where regulations or maintenance needs require it. A stretch ceiling can create a neat concealed finish, but it should not obstruct required service access or compromise safe installation practices.
Check that the support locations match the room plan and that edges or cable ends cannot puncture the material. Confirm fitting compatibility and follow the instructions for protective rings or other reinforcement. These checks make stretch ceiling installation more orderly and reduce the chance of reopening completed areas to correct service positions.
Heat, engage, and inspect the membrane
Prepare and warm the membrane correctly
Unpack the membrane in a clean area and verify its dimensions, finish, and orientation before heating. Identify the designated corners or starting points shown in the instructions. A stretch ceiling membrane is easier to handle when installers understand its orientation and avoid dragging it across rough surfaces.
If the specified material requires heat, use the approved equipment and follow the temperature and safety instructions supplied for that system. Keep heat distributed as directed, and avoid directing it at one spot for too long. Properly controlled warming allows the stretch ceiling membrane to become workable without substituting guesswork for the product procedure.
Maintain clear communication among installers as the membrane is moved into position. Keep it away from sharp tools, unprotected fittings, and surfaces that could mark the finish. Before engagement, check that supports and profiles remain secure, because a stretch ceiling should not be installed over unresolved structural or service problems.
Lock the edges and complete the finish
Start engagement at the points and in the order specified for the membrane and profile. Use the correct fitting tool, apply steady pressure, and work progressively rather than forcing a long section at once. This approach helps distribute stretch ceiling tension and reduces the chance of pulling the material unevenly.
Continue around the perimeter, checking the surface as each section locks into the track. If a wrinkle or resistance appears, pause and follow the system's correction procedure instead of cutting or stretching the material by hand. Stretch ceiling fitting should remain controlled, with adjustments made while the affected area is accessible.
When the edges are engaged, fit approved trims and complete openings using the specified reinforcement method. Inspect corners, seams, and the overall surface under suitable lighting. A finished stretch ceiling should be evenly tensioned, clean, and free from obvious damage, with every fitting supported and aligned as planned.
FAQ
Can one person install a stretch ceiling?
Room size, membrane type, and the fitting method affect how many people are needed. Because a stretch ceiling requires coordinated handling and controlled engagement, a second trained installer can make positioning easier. Follow the system instructions and use qualified help when the work or equipment requires it.
What should be checked before fitting the track?
Confirm the substrate is sound, the ceiling height is marked consistently, and services are mapped. Also verify track compatibility and fixing requirements. These checks prepare the stretch ceiling perimeter to carry the membrane securely and help avoid preventable corrections after installation.
How do installers avoid damaging the membrane?
Keep the material clean, protect it from sharp edges, use the correct tools, and follow the specified heating and engagement procedure. Stop if resistance or a defect appears. Careful handling during stretch ceiling installation protects the finish and supports a more predictable result.