
 EN



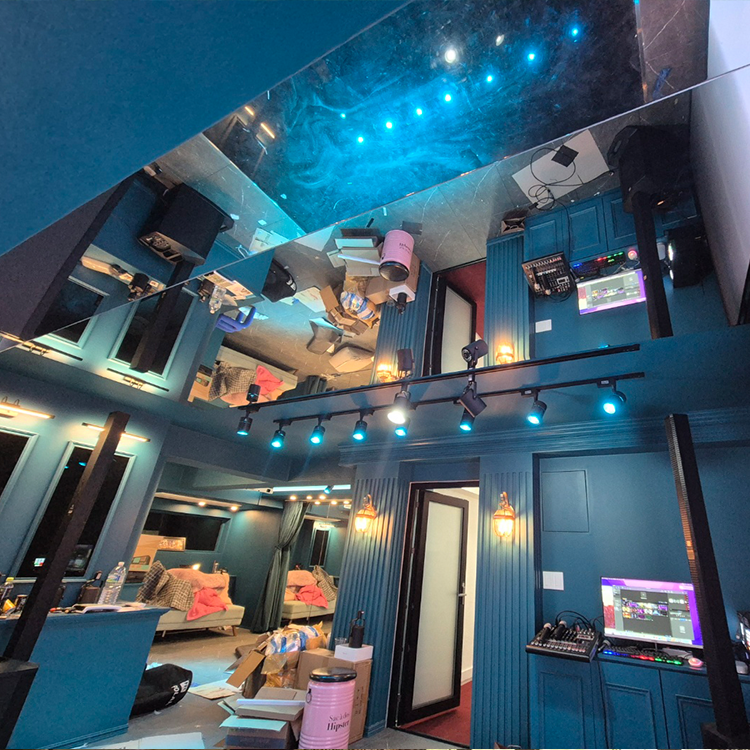
Common stretch ceiling film installation issues usually come from preparation, handling, heat control, or fitting details rather than the film alone. A practical diagnosis starts by identifying when the fault appeared and where it is concentrated. During stretch ceiling film installation, a wrinkle near one corner calls for a different correction than a loose perimeter or a mark around a light fitting.
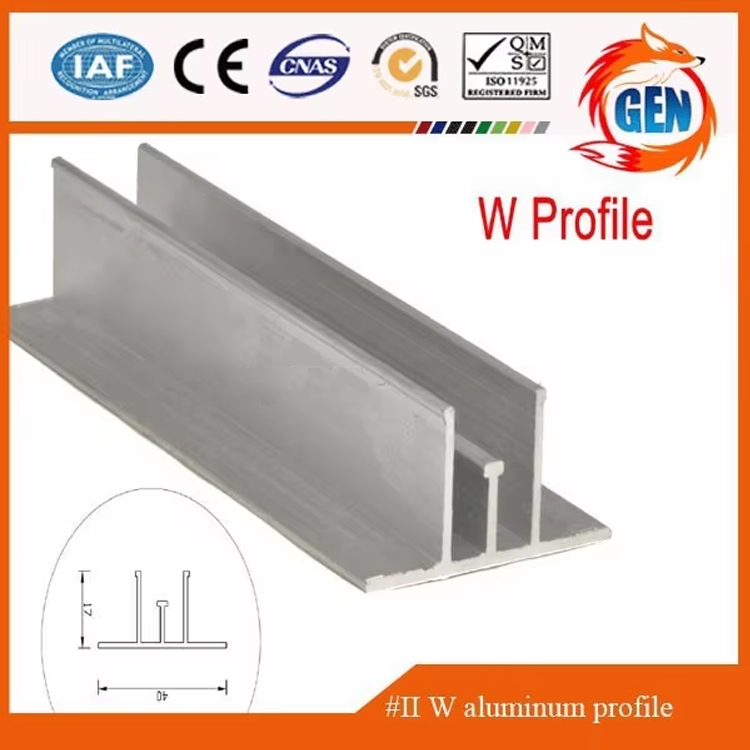
This guide links visible symptoms to quick, controlled fixes and explains when adjustment is safer than continued work. Good stretch ceiling film installation depends on a clean, secure perimeter, suitable room conditions, and an orderly fitting sequence. Use the steps below to isolate the cause before applying more heat or pulling harder, since either response can worsen an otherwise minor problem.
Diagnosing wrinkles and uneven tension
Find the source before reheating
Wrinkles often appear when tension is uneven, the film is not centered, or a section was secured too early. In stretch ceiling film installation, inspect the wrinkle's direction and distance from the wall before touching the material. A diagonal crease can point to uneven pull, while a localized ripple may come from a corner or a profile section that was not seated consistently.
Pause and check whether the room has a steady, appropriate temperature for the film and system being used. During stretch ceiling film installation, cold material may resist smooth positioning, while excessive or uneven heat can make control difficult. Follow the product instructions rather than guessing at temperature. Check for drafts, open doors, and cold surfaces that could create different conditions across the ceiling.
Correct tension in small stages
If the perimeter is secure and the wrinkle is slight, redistribute tension gradually instead of pulling one point sharply. Experienced stretch ceiling film installation crews work across opposing sides, making small adjustments so stress does not collect in a single corner. Release only the necessary section when the system permits it, then re-engage it evenly while watching how the nearby film responds.
Reheating can help relax a crease, but it is not a universal fix. For stretch ceiling film installation, apply heat evenly and maintain the working distance and limits stated by the film supplier. Keep the heat source moving; concentrating it on a small patch risks discoloration, distortion, or damage. If a crease remains sharp or the surface changes appearance, stop and assess before attempting another pass.
Fixing loose edges and perimeter gaps
Check the profile and engagement
A loose edge can result from incomplete engagement, debris in the profile, a damaged component, or tension that was not distributed around the room. Inspect the affected run and compare it with adjacent sections. In stretch ceiling film installation, the profile should be firmly fixed to a suitable substrate, and the film should sit consistently in its retention channel without forcing or twisting.
Before reseating the edge, confirm that the profile is straight, clean, and firmly attached. A stretch ceiling film installation repair will not hold if a fixing has loosened or the base material cannot support it. Remove accessible dust carefully and check for burrs or sharp points that could cut the film. Do not push tools blindly behind the edge, where they may puncture the visible surface.
Reseat without stretching the fault
When the channel and profile are sound, release a limited area and reinsert the film using the specified fitting tool. In stretch ceiling film installation, gradual engagement helps prevent a new bulge beside the repair. Work from a stable point toward the loose section, keeping the material aligned rather than dragging it along the track. Recheck the edge after each small adjustment.
A persistent gap may indicate a measurement, profile, or substrate issue rather than a simple fitting error. Stop repeating the same insertion if the film slips back out. Stretch ceiling film installation should preserve even perimeter tension, not conceal an unstable fixing with extra force. If the profile moves, the channel is damaged, or the edge is torn, consult the system instructions and plan a proper component repair.
Preventing marks and problems around fittings
Prepare openings and services carefully
Marks, sagging, or distortion near a light commonly trace back to a support ring, service position, or opening made at the wrong stage. Before stretch ceiling film installation, verify fixture locations, clearances, and required support details against the project plan. A fitting should not rely on the membrane to carry its weight. Confirm that electrical work and structural supports are completed safely before closing the ceiling.
If a ring has shifted or the opening is not centered, avoid enlarging the cut as a quick correction. Stretch ceiling film installation requires openings to be supported and sized for the specified fitting, with the reinforcement placed correctly. Check alignment from below and confirm the fixture can sit without pressing on the film. Where access is limited, pause and get qualified help rather than risking an unrecoverable tear.
Respond to surface damage and heat marks
A faint mark may be residue on the surface, but a change in texture or color can signal heat or contact damage. For stretch ceiling film installation, use only cleaning methods approved for that film; test a discreet area first and avoid abrasive cloths, solvents, or sharp tools. If the mark appeared during heating, stop the heat source and let the material return to a stable condition before inspection.
Small installation errors can sometimes be corrected locally, but cuts, melted areas, and damaged welds need a considered repair plan. Do not hide damage beneath a fixture unless the approved detail allows it. Careful stretch ceiling film installation includes a final review of edges, corners, fittings, and surface appearance under normal room lighting. Record the issue and its location so the next action addresses the actual cause.
FAQ
Can a wrinkle be fixed without removing the whole film?
Often, a minor wrinkle can be reduced by adjusting a limited perimeter section and restoring balanced tension. Stretch ceiling film installation methods vary by system, so follow its instructions and avoid forceful pulling. If the crease persists, spreads, or shows surface damage, stop and seek guidance before further heating or release.
Why does an edge become loose after fitting?
Common causes include incomplete engagement, a contaminated or damaged channel, a moving profile, or uneven tension. Inspect the substrate and retention profile before reseating the film. A sound stretch ceiling film installation repair fixes the underlying cause; repeatedly pushing the same edge into an unstable track is unlikely to last.
When should work stop for professional assessment?
Stop if the film tears, the profile shifts, a fitting presses against the membrane, or heat changes the surface. Stretch ceiling film installation can involve electrical and overhead work, so safety matters as much as appearance. Use a qualified installer when the cause is unclear or the correction could affect supports, wiring, or the film warranty.